Challenge coin design starts with a clear purpose, not with a random logo on a round metal blank. A good coin tells people who it represents, why it was made, and why the recipient should keep it. Whether you want to design a challenge coin for a military-style unit, a corporate team, a club, a school, a fundraiser, or a commemorative event, the same basic decisions shape the final result: size, artwork depth, metal finish, color, edge style, packaging, and proof approval.
This guide explains how to design and order custom challenge coins step by step. It is written for buyers who are comparing options, preparing artwork, or asking, “how do you get a challenge coin made without making expensive mistakes?” By the end, you will know what information to prepare before requesting a quote and which design choices make challenge coins look professional in real metal.
What Is a Challenge Coin?
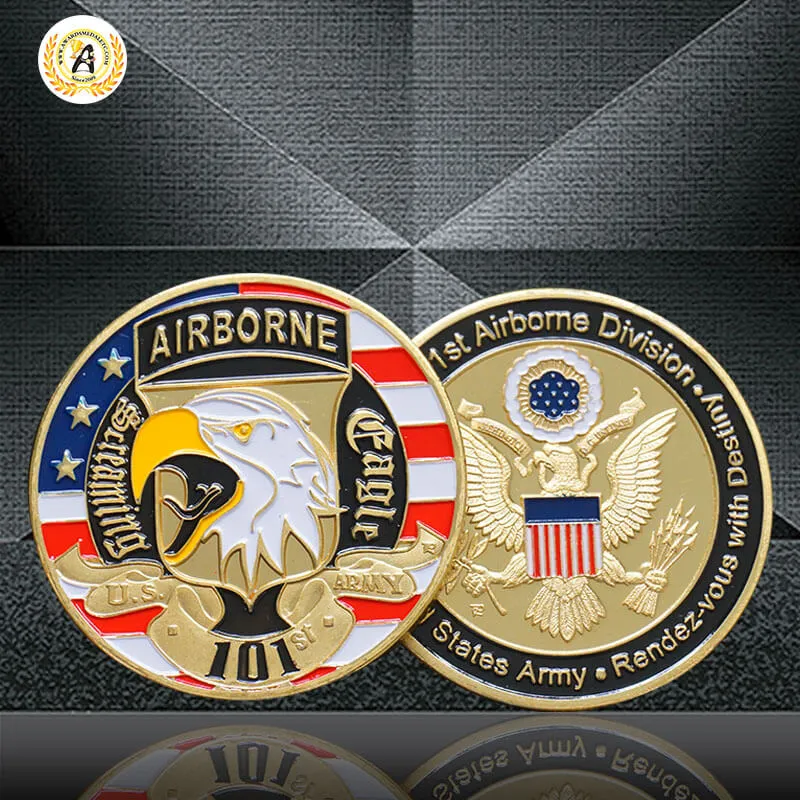
A challenge coin is a custom metal coin used for recognition, identity, membership, promotion, or commemoration. Traditional challenge coins are often connected with military, police, fire department, and veteran groups, but modern custom challenge coins are also popular for corporate awards, nonprofit campaigns, sports teams, trade shows, brand launches, school programs, and private events.
The value of a challenge coin comes from its meaning and its physical finish. Unlike a paper certificate or a disposable giveaway, a coin feels permanent. It can carry a logo, motto, date, serial number, event name, crest, mascot, or special message on one or both sides. That is why the design stage matters so much. When the message is clear, the finished coin becomes something people want to keep.
Challenge Coin Design: Start With the Purpose
Before choosing gold plating or a 3D relief effect, define why the coin exists. This purpose will guide every design decision. A coin for employee recognition should feel polished and brand-safe, especially when it is part of a wider custom award products program. A law enforcement or military-style coin may need strong symbolism, unit details, and antique plating. A trade show coin may need bright color, bold logo visibility, and fast production. An event coin may need the date, location, and sponsor details.
Write one simple sentence before you begin: “This coin is made to honor…” or “This coin is made to promote…” That sentence becomes the design filter. If an element does not support the purpose, it probably should not be on the coin.
- Recognition coins: focus on achievement, service time, rank, or team identity.
- Corporate coins: focus on brand logo, mission statement, year, and premium finish.
- Event coins: focus on event name, date, location, theme, and memorable artwork.
- Fundraising coins: focus on emotional message, collector appeal, and clear callout text.
Step 1: Choose the Right Coin Size
Size affects readability, price, weight, and how much detail can fit on the coin. Many challenge coins are made around 1.5 inches, 1.75 inches, or 2 inches. Smaller coins are easy to carry and cost-effective, but they have less room for detailed artwork. Larger coins feel more substantial and give more space for text, 3D modeling, cutouts, or complex logos.
If your design includes a long motto, multiple symbols, or a two-sided story, choose a larger size and request a quote with the exact size clearly listed. If the design is a clean logo with short text, a smaller size can still look sharp. When in doubt, keep the coin slightly larger rather than forcing tiny letters into a crowded layout.
Step 2: Pick 2D or 3D Artwork
One of the most important decisions in challenge coin design is whether the artwork should be 2D or 3D. A 2D coin uses flat raised and recessed metal areas. It works well for logos, text, seals, simple emblems, maps, and clean graphic artwork. A 3D coin uses sculpted relief with curved surfaces and gradual depth. It works better for faces, animals, buildings, mascots, vehicles, statues, and realistic scenes.
If you want to make challenge coins with crisp text and a bold logo, 2D is usually the practical choice. If you want the coin to feel like a miniature sculpture, 3D or partial 3D relief can create more visual depth. Some designs combine both: a 2D logo on one side and a 3D emblem on the other.
Step 3: Choose Metal Plating and Finish
Metal finish controls the mood of the coin. Shiny gold looks bright and ceremonial. Antique gold adds contrast and depth. Silver feels clean and modern. Antique silver is strong for detailed relief. Bronze and copper create a vintage or commemorative feeling. Black nickel gives a sharper, more tactical look and helps bright enamel colors stand out.
When you design challenge coins, do not choose plating only because it looks expensive. Choose the finish that supports the story. Antique finishes are excellent for coins with heavy detail because the darker recessed areas make raised artwork easier to see. Shiny finishes work better for clean corporate coins, award coins, and designs with fewer tiny details.
Step 4: Add Color, Text and Logo Details
Color can make a coin easier to recognize, but too much color can make the layout feel busy. For most custom challenge coins, use color to emphasize the logo, key symbols, flags, badges, or brand elements. Keep secondary details in metal if they are not essential.
Text is where many coin designs fail. A coin is small, so every word must earn its place. Short mottos, dates, unit names, and event names are usually better than full sentences. Put curved text around the outer ring when possible. Keep the center area for the main icon, crest, or artwork. If your design must include a long message, use the back side instead of crowding the front.
Quick Specification Guide for Custom Challenge Coins
If you are comparing suppliers or preparing a request for quote, it helps to describe the coin with production terms. Clear specifications reduce back-and-forth communication and make the quote more accurate. The table below gives a practical starting point for most challenge coin design projects.
| Specification | Common Choice | Best For | Design Notes |
|---|---|---|---|
| Size | 1.75 or 2 inches | Most custom challenge coins | Large enough for logos, dates and readable text without feeling oversized. |
| Thickness | 3 mm to 4 mm | Premium hand feel | Thicker coins feel heavier and more substantial, especially for awards. |
| Artwork | 2D, 3D or mixed relief | Logos, crests, mascots and scenes | Use 2D for clean logos and 3D for sculpted realistic details. |
| Plating | Antique gold, antique silver, black nickel | Detailed coins and recognition gifts | Antique finishes create contrast and make raised details easier to see. |
| Color | Soft enamel or no color | Brand logos, flags and event themes | Use color for key areas only. Too many colors can make the coin look busy. |
| Edge | Plain, rope, reeded or diamond cut | More finished presentation | A decorative edge adds detail without crowding the center artwork. |
| Packaging | Poly bag, velvet box, acrylic case | Bulk giveaways or formal awards | Choose packaging based on how the coin will be presented. |
What Information Should You Send Before Asking for a Quote?
A supplier can help you create custom challenge coins faster when the design brief is complete. You do not need to have finished artwork, but you should send the main information that affects price and production. If you only say, “I want to make challenge coins,” the supplier has to ask many follow-up questions before giving a realistic quote.
For a smoother quotation, prepare these details:
- Coin purpose: recognition, event, military-style unit coin, brand promotion, school program, club gift or fundraiser.
- Quantity: the number of coins you need. Unit price changes significantly when quantity increases.
- Size: preferred diameter or approximate size, such as 1.75 inches or 2 inches.
- Artwork files: logo, sketch, badge, mascot, crest, photo reference, color guide or old coin sample.
- Front and back content: logo, names, motto, date, location, website, serial number or special message.
- Finish preference: gold, silver, bronze, copper, black nickel, antique finish or dual plating.
- Color plan: whether the coin should use enamel colors, no color, translucent color or printed details.
- Deadline: the date you need the finished coins in hand, not just the event date.
This information gives the design team enough context to recommend the right production method. It also helps avoid a common problem: approving a beautiful digital mockup that is not practical for real metal production.
What Affects the Cost of Making Challenge Coins?
The cost of making challenge coins is not based only on size. Several choices affect the final quote. A simple round 2D coin with one plating color will usually cost less than a custom-shaped 3D coin with two-sided enamel, edge cutting and premium packaging. Understanding these cost factors helps you decide where to spend your budget.
- Quantity: higher quantities usually lower the unit price because mold and setup costs are spread across more coins.
- Size and thickness: larger and thicker coins use more metal, so they usually cost more.
- One side or two sides: two-sided artwork requires more production work than a single-sided coin.
- 2D or 3D design: 3D sculpting and relief work can increase artwork and mold complexity.
- Color filling: enamel areas require extra production steps, especially when the design has many small color zones.
- Custom shape or cutout: irregular outlines and internal cutouts can raise mold complexity.
- Packaging: boxes, display cases and individual presentation packaging add cost but improve perceived value.
If budget is limited, keep the coin shape simple, use one strong plating finish, reduce unnecessary tiny color areas, and focus on a clear main emblem. A clean coin often looks more premium than a crowded coin with too many add-ons.
How to Design a Challenge Coin That Looks Good in Real Metal
Digital artwork can hide problems that become obvious after production. Thin lines, tiny text, low-contrast colors and overly detailed background images may look acceptable on a large screen but become hard to read on a coin. A practical challenge coin design should be judged at actual size.
Use these rules when reviewing the proof:
- Zoom out to actual size: if text cannot be read on screen at coin size, it may not read well in hand.
- Give the main icon room: the center artwork should be obvious within one second.
- Limit font styles: one main font and one supporting font are usually enough.
- Use contrast: antique plating, recessed areas and selective enamel can help important details stand out.
- Separate text from texture: avoid placing small words over busy artwork or textured backgrounds.
- Check both sides together: the front and back should feel like one complete design, not two unrelated layouts.
Recommended Challenge Coin Design Brief Template
You can copy this short template when you are ready to request a quote. It makes the ordering process easier and helps the supplier understand the project quickly.
We need custom challenge coins for [team/event/company]. The purpose is [recognition/promotion/commemoration]. Quantity is [number]. Preferred size is [size]. We want [2D/3D/mixed] artwork with [plating finish]. Please include [logo/text/date/motto] on the front and [message/secondary logo/serial number] on the back. Our preferred colors are [colors]. The coins are needed by [date]. Packaging preference is [poly bag/velvet box/acrylic case/not sure].
Even if you are not sure about every specification, this template gives the design team enough direction to suggest the right options.
Production Timeline: From Idea to Finished Coin
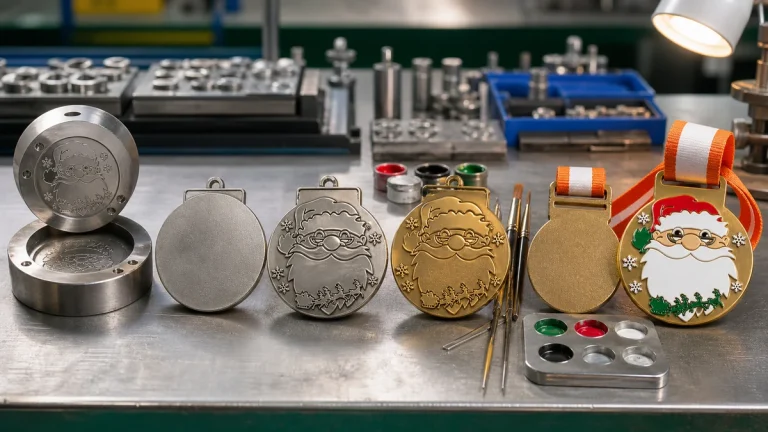
Every project is different, but a typical custom coin order moves through several stages. First, the supplier reviews your brief and prepares a quotation. Then the artwork team creates a digital proof. After you approve the proof, production can begin. The mold is made, coins are stamped or cast, plating is applied, enamel colors are filled if needed, and the finished coins are inspected and packed.
The timeline depends on quantity, design complexity and shipping method. If the coins are for a fixed event date, start early. Rushed orders leave less room for proof revisions and shipping delays. For important events, it is better to approve the final design only after every name, date, logo and color has been checked by more than one person.
When Should You Use Challenge Coins Instead of Medals or Pins?
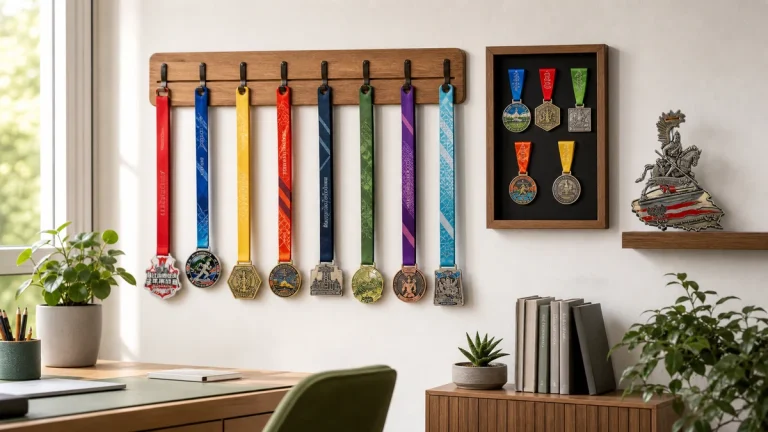
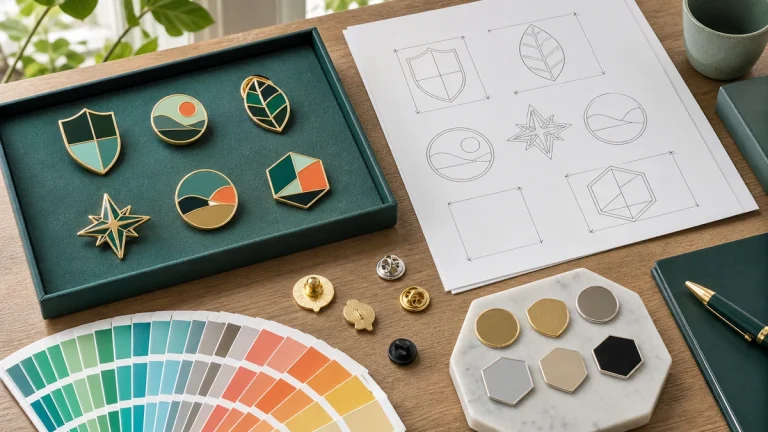
Challenge coins are ideal when the goal is recognition, identity or collectability. They are easy to display, carry and exchange. Custom medals are better for competitions, races and ceremonies where wearing the award matters. Custom lapel pins are better for daily uniforms, brand visibility and lightweight giveaways. Many organizations use all three: coins for members or VIPs, medals for event winners, and pins for staff or promotional use.
If you are planning a larger award program, compare the coin with related custom award products before finalizing the design. A challenge coin can be the premium keepsake, while medals and lapel pins support different parts of the same campaign.
Step 5: Select Edges, Cutouts and Packaging
The edge of a challenge coin can be plain, rope, reeded, wave, diamond-cut, cross-cut, or custom-shaped. A decorative edge can make the coin feel more finished without taking space away from the central design. Custom shapes and cutouts are useful when the outline is part of the story, such as a shield, badge, state shape, mascot shape, or event symbol.
Packaging also changes the presentation, especially when coins are ordered together with custom medals or other event awards. Simple poly bags are practical for bulk giveaways. Velvet boxes, acrylic cases, and display stands are better for awards, officer gifts, VIP gifts, and commemorative collections. If the coin will be presented on stage or sent to a client, packaging should be considered early rather than added at the end.
How to Make Challenge Coins: The Ordering Process
Making challenge coins is easier when the design information is prepared before asking for a quote. You do not need a perfect vector file to start, but you should provide enough direction for the artwork team to understand the goal.
- Prepare the idea: send your logo, reference images, sketch, slogan, date, quantity, and preferred size.
- Choose the main specifications: coin size, thickness, plating color, 2D or 3D style, edge type, and packaging.
- Request artwork: the design team turns your idea into a production-ready proof.
- Review the proof carefully: check spelling, dates, logo placement, colors, metal finish, and front/back layout.
- Approve production: once the proof is approved, the mold and production process begin.
- Inspect and deliver: finished coins are checked, packed, and shipped according to the order requirements.
If you want help turning an idea into a finished coin, visit our custom challenge coins page. You can also browse related custom award products or contact us for a quote.
Common Challenge Coin Design Mistakes
Many coin problems happen before production starts. The most common mistake is adding too many elements. A coin with three logos, six lines of text, a date, a slogan, a background image, and a border can look cluttered. The second common mistake is using text that is too small. Even if small text can be produced, it may not be readable in real use.
Another mistake is choosing the wrong finish for the artwork. Highly detailed 3D designs usually need contrast, so antique plating often works better than very shiny metal. Flat corporate logos may look cleaner in polished gold, silver, or black nickel. Finally, many buyers approve artwork too quickly. Always check spelling, dates, quantity, metal finish, enamel colors, and the front/back orientation before production.
Challenge Coin Design FAQ
How do you get a challenge coin made?
You get a challenge coin made by sending your idea, logo, quantity, size, and preferred finish to a custom coin manufacturer. The supplier prepares a digital proof, you review the design, and production starts after approval.
Can I design a challenge coin without professional artwork?
Yes. You can start with a sketch, logo, photo, or written idea. A production design team can convert your concept into a clean coin layout and recommend changes for readability, manufacturing and matching related custom lapel pins or medals.
What size is best for custom challenge coins?
Common sizes include 1.5 inches, 1.75 inches, and 2 inches. A 1.75-inch or 2-inch coin is often a good balance because it gives enough space for logos, text, and detail while still feeling easy to carry.
Should I choose 2D or 3D for my coin?
Choose 2D for clean logos, text, seals, and simple raised/recessed artwork. Choose 3D for sculpted relief, faces, buildings, mascots, and realistic scenes. Some premium coins combine 2D and 3D elements.
What files are best for challenge coin artwork?
Vector files such as AI, EPS, PDF, or SVG are best when available. High-resolution PNG or JPG files can also be used as references, especially when the design team is creating the production artwork for you.
How can I make challenge coins look more premium?
Use a clear main symbol, readable text, suitable metal plating, a balanced color plan, and packaging that matches the purpose. Antique plating, 3D relief, custom edges, and display boxes can also create a more premium result.
Final Checklist Before You Order
Before approving your proof, check the coin against this short list:
- The main purpose of the coin is clear.
- The front and back each have a defined role.
- Text is short enough to read at the selected size.
- The metal finish supports the artwork style.
- Colors match the logo or event theme.
- The edge, shape, and packaging fit the presentation plan.
- All names, dates, slogans, and spellings are correct.
A strong challenge coin does not need to be complicated, and you can always contact us before production if you are unsure about artwork, size or finish. It needs a clear story, a readable layout, and the right production choices. When those pieces work together, your coin becomes more than a giveaway. It becomes a keepsake people remember, carry, and collect.