How Custom Enamel Pins Are Made
Custom enamel pins begin with artwork and end as polished metal pieces that can be worn, packaged or collected. The process looks simple from the outside, but every step affects the final texture, color, durability and delivery time.
If you are planning a brand pin, club badge, school pin or event giveaway, understanding the production flow will help you prepare better artwork and avoid preventable revisions. Difway Awards provides several custom lapel pin options for designs that need different textures and budgets.
Step 1: Prepare the Pin Artwork
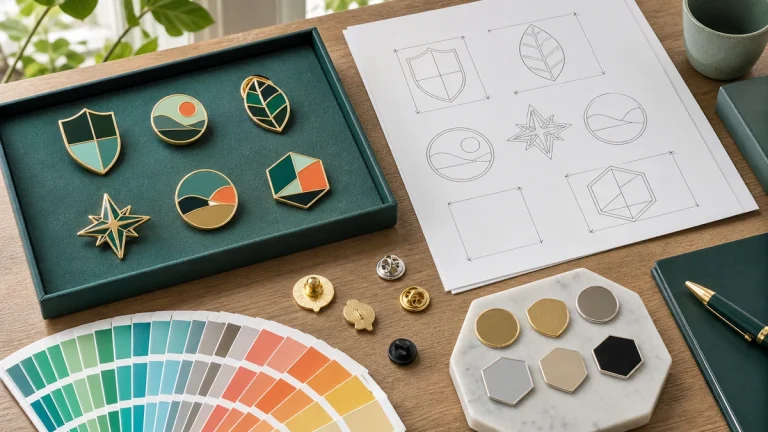
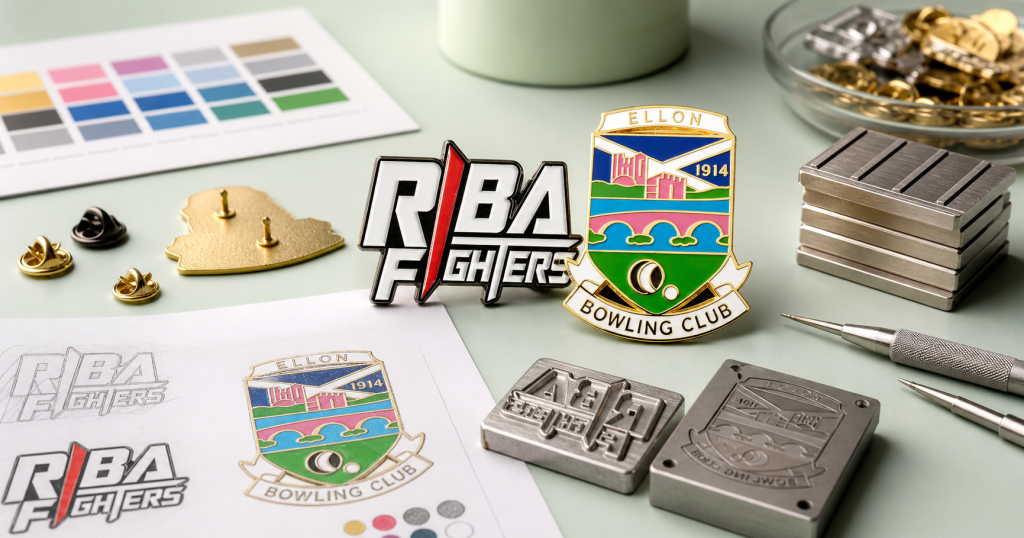
The artwork is the foundation of the pin. It should show the final shape, line separation, color areas, text and attachment direction. Vector artwork is best because it keeps lines clean when the mold is prepared.
Artwork details to confirm
- Pin size and shape
- Logo or illustration placement
- Color references, such as Pantone colors
- Text size and readability
- Metal finish, border and background areas
- Back attachment, such as butterfly clutch or magnet
Small text, thin outlines and complex gradients may need adjustment. Pins are physical products, so the design must work within metal and enamel limits.
Step 2: Create the Mold
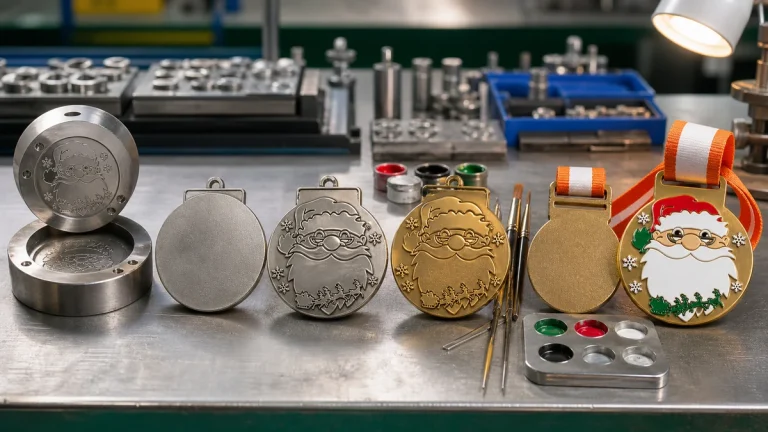
After the artwork is approved, the mold is made. The mold forms the raised and recessed metal areas of the pin. Raised metal lines separate colors and keep each enamel area neat.
For detailed logos, the mold quality is especially important. Clean mold lines help the finished pin look sharp after plating and color filling.
Step 3: Stamp or Cast the Metal Base
Most enamel pins use a metal base. Depending on the design, the base can be stamped or die cast. Stamped pins work well for many 2D designs, while die cast pins are useful for shapes with more depth or special outlines.
Designs with deeper relief or sculpted surfaces may also be considered for custom challenge coins if the project needs a heavier collectible format.
Step 4: Plate the Pin
Plating gives the pin its metal color. Common finishes include shiny gold, shiny silver, antique gold, antique silver, black nickel, copper and rose gold. The plating should match the brand style and the artwork colors.
| Finish | Best use |
|---|---|
| Shiny gold | Premium, warm and eye-catching designs |
| Shiny silver | Clean, modern and neutral branding |
| Antique metal | Vintage, military, club and relief-heavy designs |
| Black nickel | Bold designs with strong color contrast |
Step 5: Fill the Enamel Colors
Color is filled into the recessed areas of the pin. Each color must stay inside its raised metal border. After filling, the enamel is cured so it becomes stable and durable.
At this stage, you can decide between soft enamel pins and hard enamel pins. Soft enamel pins have recessed color areas and raised metal lines. Hard enamel pins are polished smooth after color filling, creating a flatter surface.
Step 6: Polish, Inspect and Add Attachments
After color curing, the pins are polished and inspected. The factory checks color accuracy, plating quality, surface cleanliness, attachment position and overall shape.
Common back attachments include butterfly clutches, rubber clutches, safety pins, magnets and deluxe clutches. Packaging can include poly bags, paper cards, velvet boxes or custom backing cards.
Common Mistakes to Avoid
- Using text that is too small to read after production
- Adding too many tiny color areas
- Choosing a finish that does not contrast with the enamel colors
- Forgetting to confirm the back attachment
- Sending only a low-resolution image without production notes
FAQ
How long does it take to make enamel pins?
Timing depends on quantity, design complexity and finishing requirements. Artwork approval and mold making are important early steps, so clear artwork helps the schedule.
Can enamel pins use custom shapes?
Yes. Custom shapes are common for logos, mascots, badges and event artwork. The outline should be simple enough to keep the pin strong.
Which is better, soft enamel or hard enamel?
Soft enamel is a good choice for textured, cost-effective pins. Hard enamel is better when you want a smooth, jewelry-like finish.